Friday, October 29, 2010

Hand Painted Jewelery Box

I bought a Jewelry box at D.I. for 2 dollars because I was outgrowing my old ugly crystal bowl. So when I saw this one, I decided I could make it less... shall we say "hideous".


I was a little sad that one of the handles were missing... Oh well.
So I got to work on it with my trusty paint brush and elbow grease and this was the finished result!


Wednesday, October 27, 2010

Easy Peasy Flower Topiary

When I decided our bedroom needed to be re-decorated, I thought it would be fun to incorporate more flowers. I LOVE flowers and it bothered me that I didn't really have any in our bedroom. So after thinking about it I figured out a pretty cheap and easy way to make some flower topiaries! Just about a week before I had this epiphany I stumbled across these Martha Stewart vases:

2 for $3.99 each! I didn't know where I was going to put them but by golly I would find a spot!!
Now, here's the easy part- go to the dollar store, choose your fake flower of choice and get about 5 bunches or so and one round foam ball in the arts and crafts section - you can get them at wal-mart too but they are WAYYY more! I cut the flowers down to the sizes that would best fit into the foam ball and stuck them in- I wish I had taken pictures of the process but I didn't... It's pretty self explanitory though- you really cant go wrong. Just stuff the foam ball with flowers till you cant see the white foam. Here's the finished product:

Now... I was having a problem with the shiny silver so... I spray painted it!

Monday, October 25, 2010

Great Finds: Part 1

I usually have to work Saturdays so I usually miss out on yard sales... :( But recently I've been able to stay home on Saturdays, so I convinced my husband to take me yard sale-ing before the weather gets too cold for them. It started out a little cloudy and windy and then it started pouring cats and dogs! But that didn't stop us! We went to over 10 yard sales and I only walked away with 3 items! That's pretty amazing! But what I did get was well worth it! I'm excited to do some transforming! Here are just the first 2- the 3rd one is going to be an entire post. I can't wait to show you!!


It's very dirty but I think it will clean up nicely!

Loved the wood detail.

This was a $1.

Only $2 dollars- I think I will be re-covering the shade.

Sunday, October 24, 2010

Microwave Stand Turned Bill and Junk Collector!

I have issues with clutter. When I see clutter in my home I stress out until it's taken care of. I was getting SO tired of junk and clutter collecting on my kitchen counter! So I set out to to find a cabinet that would fit in a very small and particular space in my kitchen dining area. It needed to be no wider than 25 inches in width. I found a cabinet at D.I. for $35, a little steep for me but guess what! It was EXACTLY 25 inches! So I bought it... Here's the before picture:


These wouldn't come off! So I just painted over them.


I didn't sand anything because it was laminate wood. Whenever I paint over anything laminate I use a TSP cleaning solution, you can get a box of it at Home Depot or Lowes. It cleans all of the grime and dirt off wonderfully. Then I used kilz paint, about 2-3 coats. Then I used the hand sander to bring out all of the details and to make it look old and antiqued. I didn't get new hardware for it, just took off the knobs and spray painted them black.


 And this is the final resting place for my microwave stand turned bill and junk collector! I'm loving it! Eventually, I think I'll add some chunky crown molding to the top of it to make it look more "finished".

Thursday, October 21, 2010

Antique Windows Galore!


 Be prepared to hate me just a little... My husband was working on an old building a while back and came across a bunch of old chippy antique windows in the dumpster--- he called me and asked me if I wanted any, I told him are you kidding?? I want ALL of them! So we loaded up the truck with all of the ones that were salvageable.


This isn't all of them either!

I washed them off very gently, they were extremely dirty!

Ohhh yess... Not one broken pane!


Whenever I get spare time I pull  out the sander and elbow grease and work on a couple. Here are just a few so far...


I would have loved to just leave them alone but some looked pretty bad so I did my best to try to keep them looking old and worn.


After a little but of sanding, cleaning and white paint.

Vinyl wording, brackets and some ribbon- this one is for sale: $40.00


I still need to get some family pictures for the center window panes, but I'm
loving my new focal point!

I have a LOT more to do. 
I recently painted the accent wall (it was red before, more on that to come) On this wall I plan on making a collage with a lot of the windows- unless someone else has a better idea...
Here is a before of our formal living room 
Seriously, WHAT WAS I THINKING??


Here is a final picture of our formal living room :)
SOOOO much better, right?

Wednesday, October 20, 2010

Shelves for the Kitchen

I've been seeing a lot of open shelving in kitchens lately- and I have to say I love the trend! I've already confessed to you one of my addictions- well, I have another one! It's D.I. (Deseret Industries) If you don't already know what D.I. is, it's basically the same thing as Goodwill or any other thrift retailer except D.I. is owned and operated by The Church of Jesus Christ of Latter-Day Saints. ANYWAY, I LOVE going to D.I. there is always great finds.
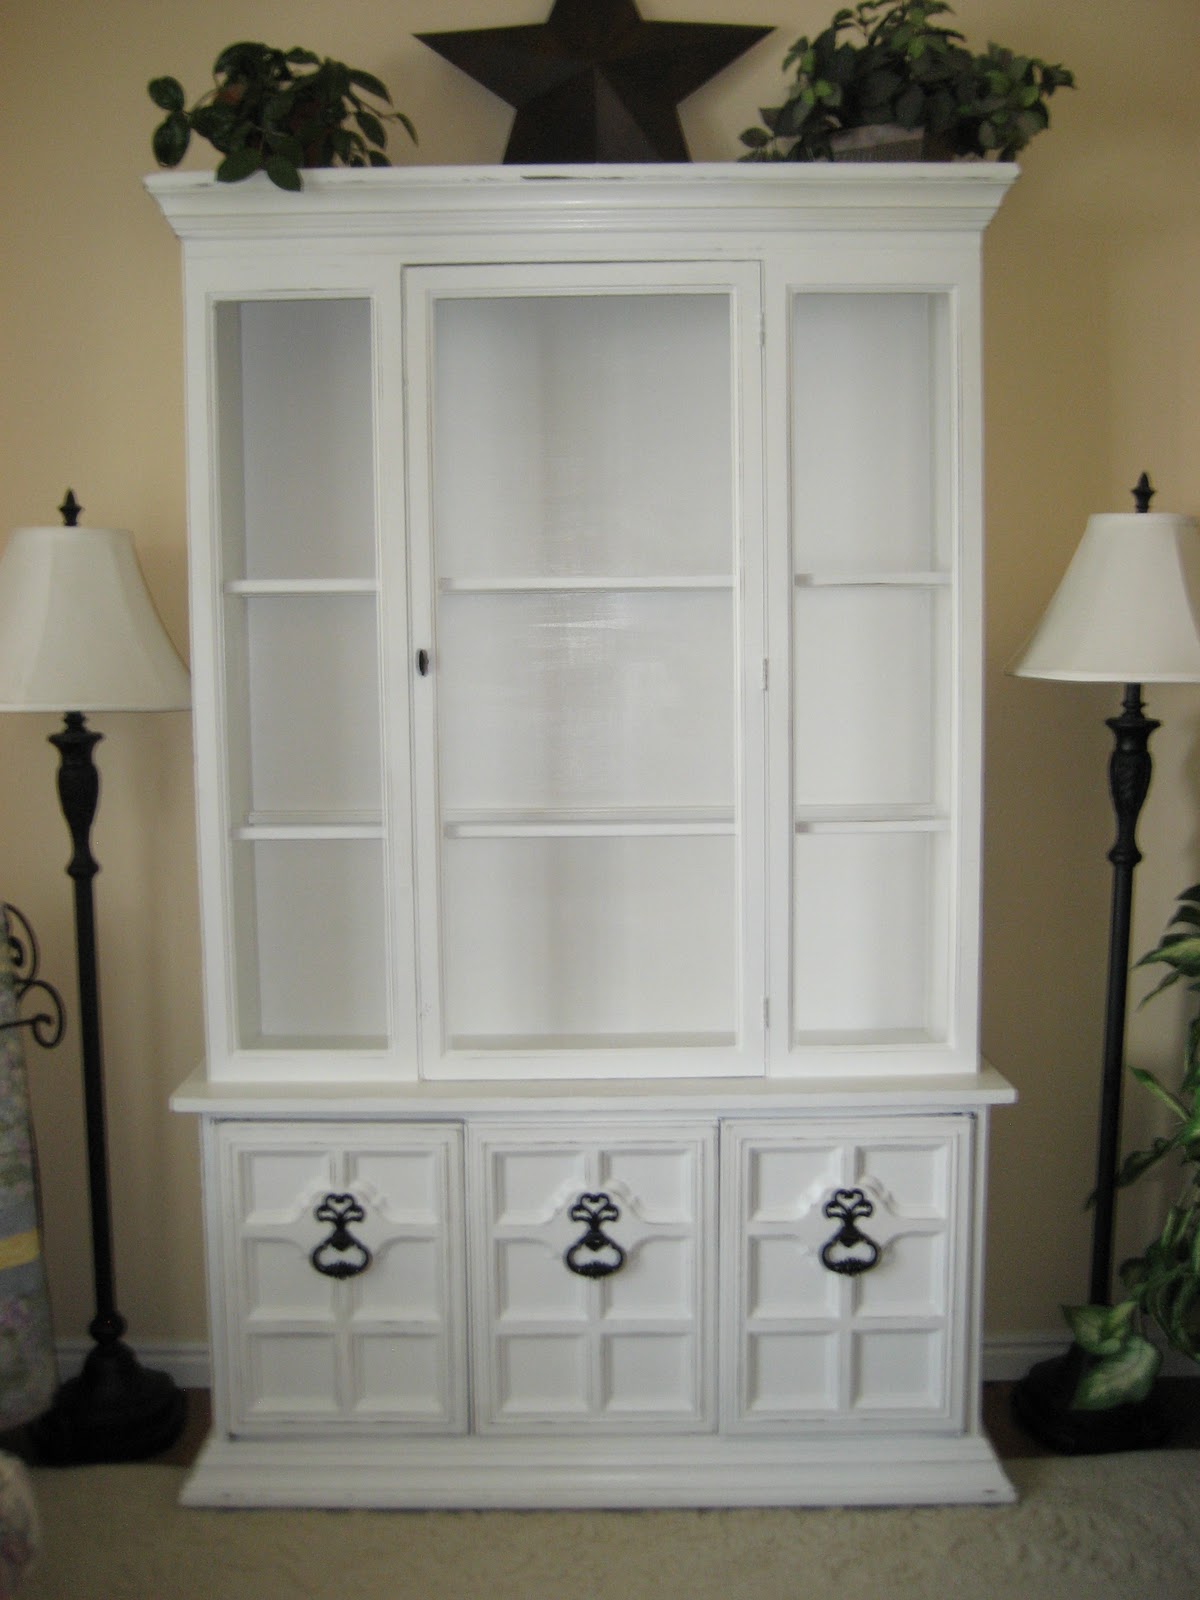
On one of my last trips I came across these...
I got two of them for $2 and one for $3
My husband thought it was a bad idea... They looked like they may have been slapped together by a 10 year old.  I saw potential though- and for the price there wasn't really anything to loose!
I knew I wanted to add some molding around the edges but after looking at the cost ($25), we decided to use some old scraps that we had laying around- not as thick and chunky as I would have liked but I think it turned out great- saving money always makes me happy!


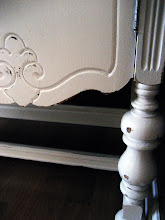
I patched up the staple holes with some putty, wiped off the excess and sanded a couple of the edges and the top to make sure it all looked flush and professional- any job worth doing is worth doing right.


Now, I had originally planned on painting them with a paint brush... But, I got lazy was running low on my gallon bucket of white paint- and I really didn't want to mix more. So I bought 3 cans of glossy white Rust-Oleum at Home Depot.

And this is the finished product!


the white ceramic set on the top shelf was another D.I. find- That's for another post though! :)

And there you have it! The entire cost for this project was approximately $15.

Sunday, October 17, 2010

China Hutch Re-do


I have an addiction... It isn't drinking, drugs or stealing. It is an addiction to the KSL classifieds. I pour over the furniture sections imagining all of the wonderful things I could do to old worn down and beat up furniture. I decided that I "Needed" a hutch to store my not so precious things. So the search was on for a cheap piece because my budget is not very large. I found one on KSL for $50 dollars. I begged and pleaded with my husband to take me to pick it up with his truck- we got to the house and found that it was laminate wood---uh oh... It looked like real wood on the ad... It was extremely dirty and a little banged up PERFECT! I bartered with the man and got him down to $40 dollars. We loaded up my not so pretty beauty and headed home.
In case you were wondering-- that stuff on the glass was paint and i scraped it all off with a razor blade, I don't think I EVER want to do that again!


 Put the glass back in and added chicken wire behind it. (My sweet husband helping me put the chicken wire in.)


BEFORE:


AFTER:

 Ta-Da! It's really changed the entire look of the room and I sure am proud of it!