
Well, I think the hard part is over. Last night and this morning I finally tackled putting the fabric on the cushions. I think I got WAYY too much fabric- thanks to my handy husband we were able to use the whole piece we cut. Guess I will be making lots of pillow case covers and maybe some drapes?? It's a good thing the fabric is pretty!
I originally bought two 3" foam pads meant for camping at Home Depot- I looked everywhere for a foam pad that would work for this project that wouldn't cost an arm and a leg. The pads at Home Depot were only $20.00 and they were perfect!
After doing some research online I discovered the best way for cutting foam pads. An electric knife! Who knew? Some ladies attempted using bread knives and I'm sure that took forever and looked like a hack job. I decided to look for an electric knife. So the hubs and I took a trip to one of our favorite thrift stores, D.I.! Low and behold there was an electric knife there for $5.00 with three extra blades. Score.


My husband did pretty much everything for the next few steps. He measured the foam pads and discovered that if he cut them just so he would only need one foam pad for both seats! So I returned the second pad.
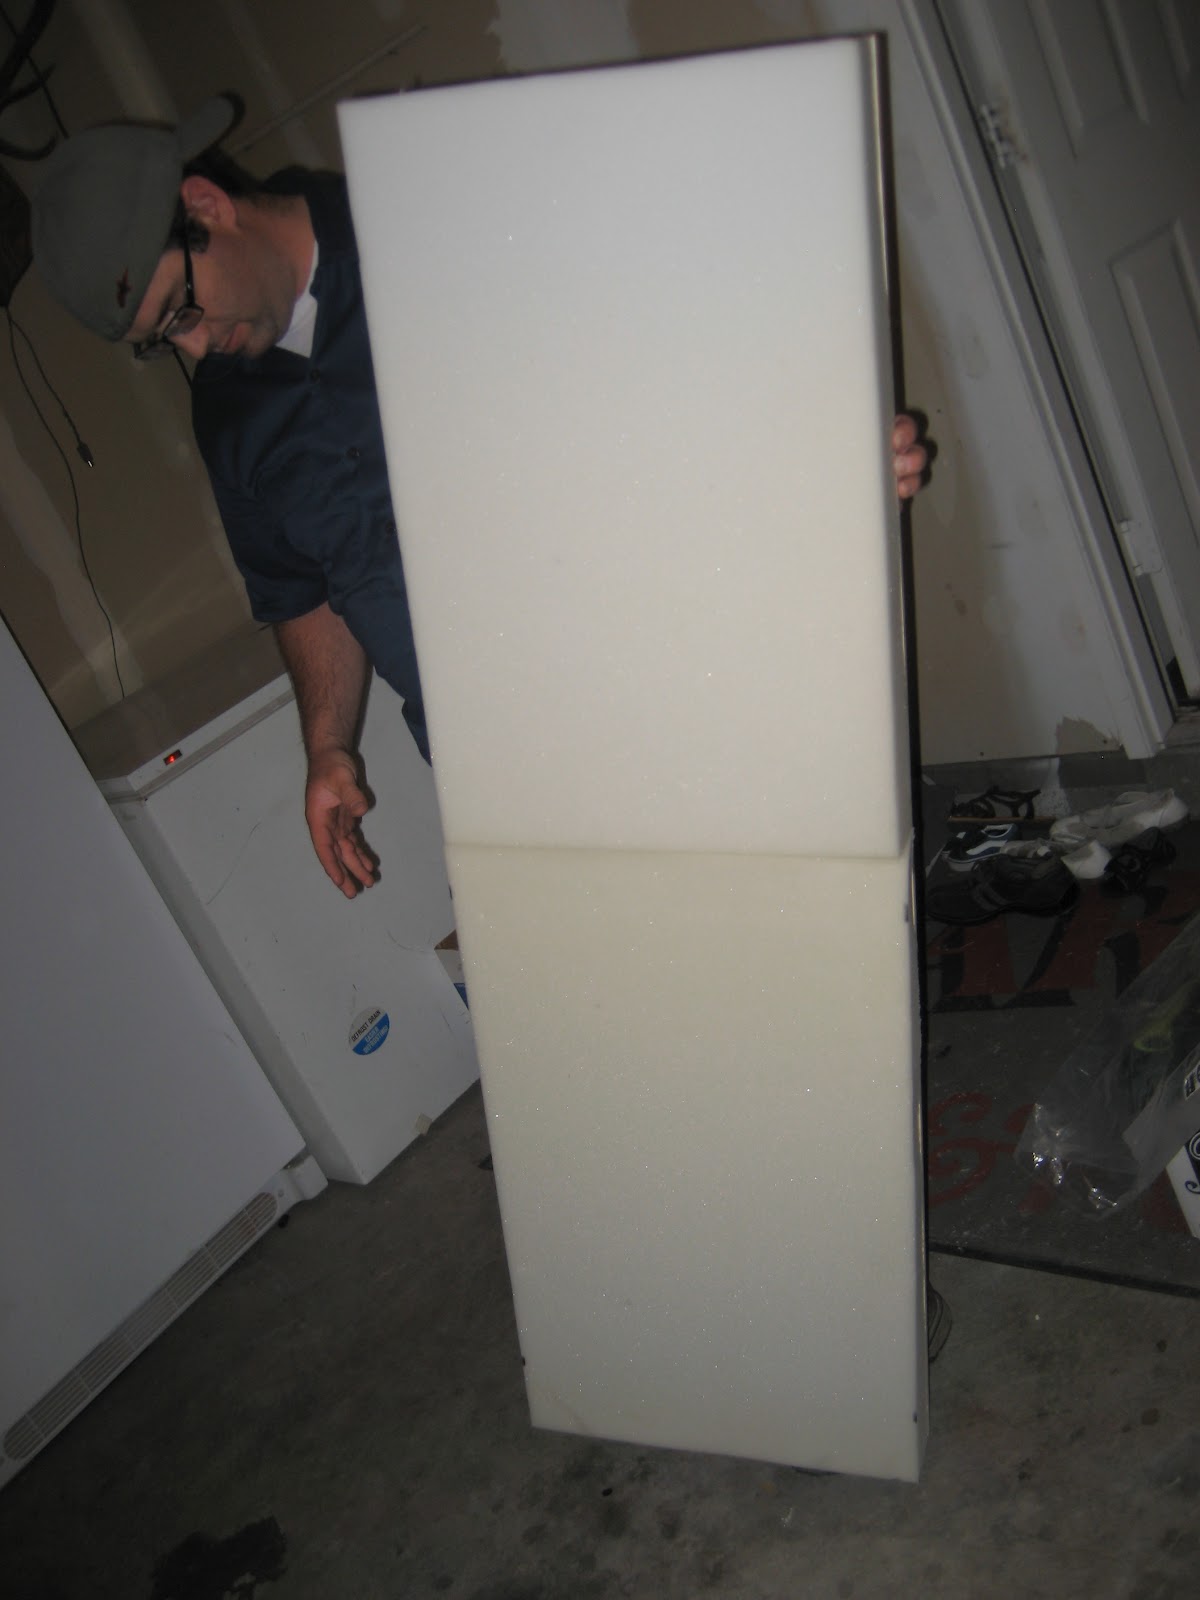
Trevor used spray adhesive to attach the foam pads to the wood, let that dry and started to trim the foam. I helped with some of the cutting and seriously, that knife cut through the pad like butter. Don't ever cut a pad with anything BUT an electric knife!
After the pads were cut to size, I sanded all of the edges of the wood, especially the corners- I didn't want years of wear and tear to make holes in the fabric.

We rolled the fabric out, measured and started cutting.

I cut two strips of ribbon to attach to the end of each cushion so I could lift them up to access storage underneath.

The fun part, stretching the fabric over the cushion and stapling.


Fabric in place, added the ribbon tab.

Yes, it's not too pretty or finished looking yet- I plan to paint most of the wood and work on a way to organize it better.

All covered up and in place.

I like how the tab turned out. :)

Fast forward to the part where both seats are covered and in place:


And just because I always love a good before and after:


If you want to see the entire step by step process go here:
http://paintmeshabby.blogspot.com/2012/03/update-on-dining-nook.html
Thanks for stopping by!


Looks great! Love your fabric choice.
ReplyDeleteThis comment has been removed by the author.
ReplyDeleteHi..I just loved this blog..we just bought a house and have a breakfast nook..was trying to find some good source of information on how to make cushion for the nook and found yours..its very useful..I would like to know how you stapled the fabric on the cushion..it didn't require any stitching? Where did you buy your fabric from? There are some fabric calculator online to measure how many yards of fabric is required, I can possibly follow that?
ReplyDelete