Monday, May 7, 2012

Vinyl for the Kitchen

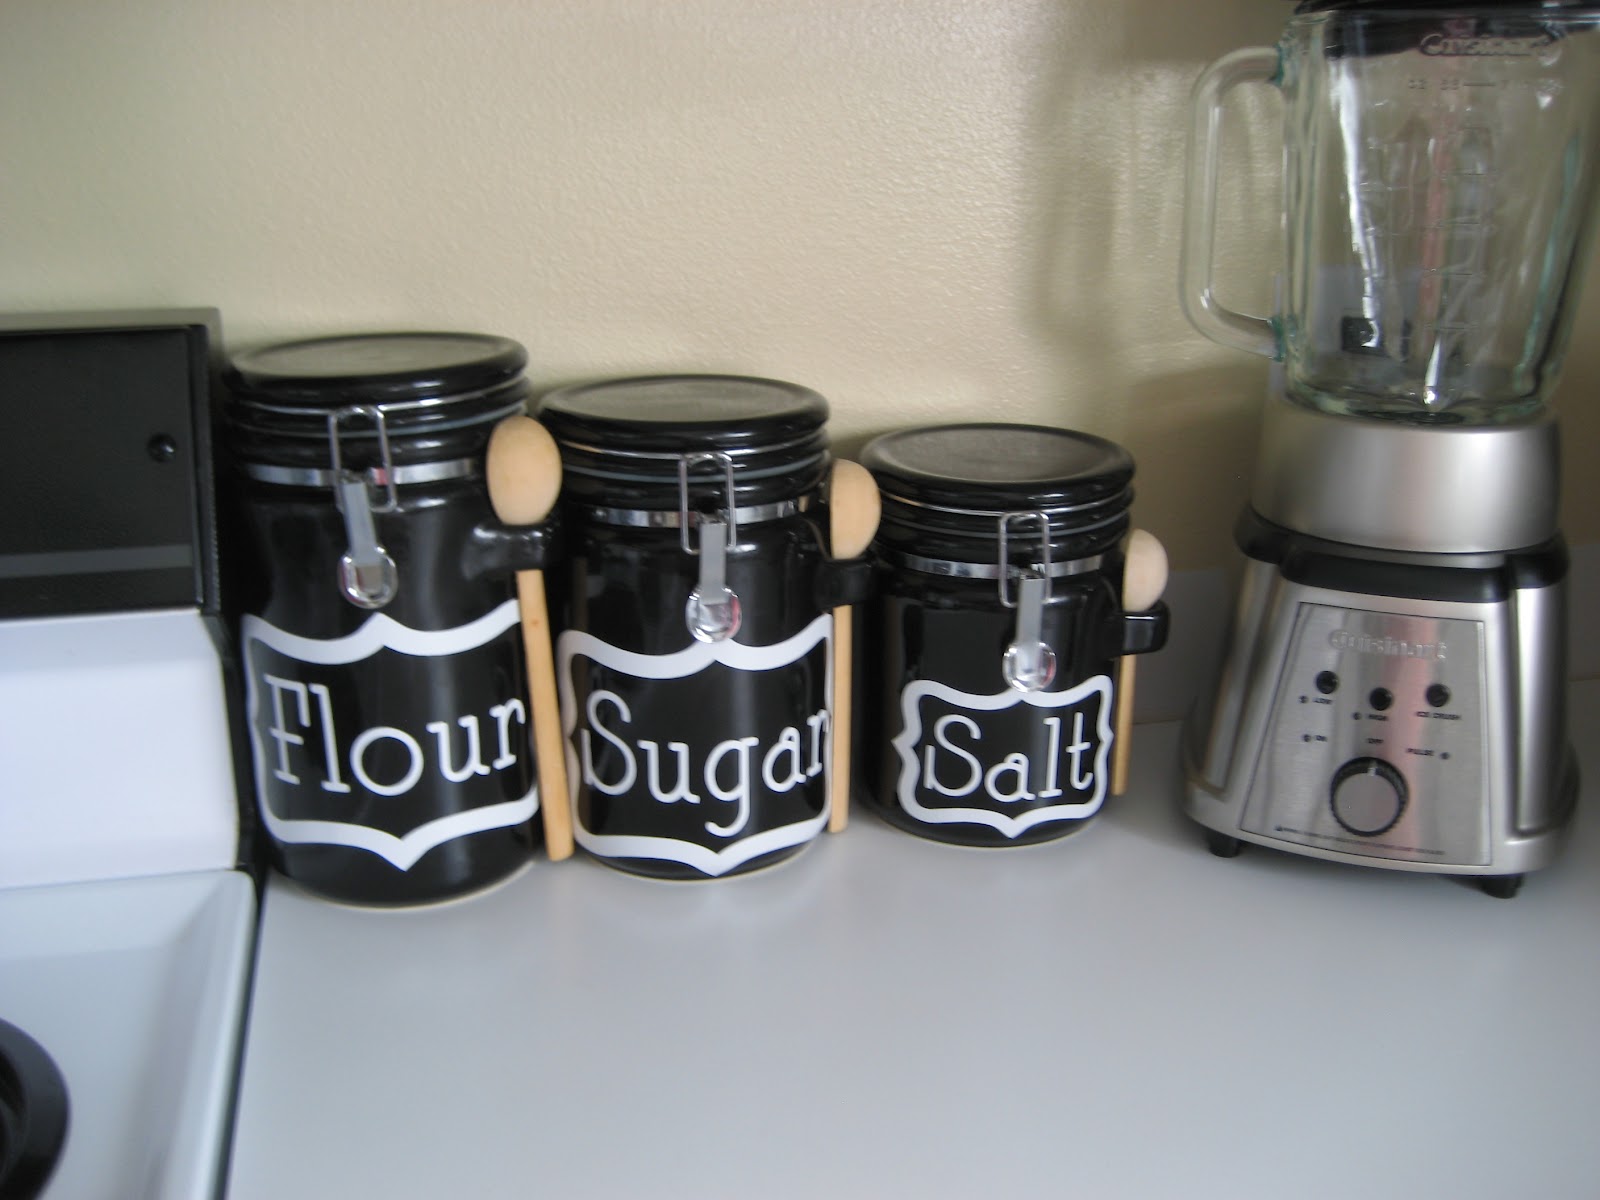
I have seen so many cute CUTE pictures of kitchen canisters with vinyl wording on them. 
These are a couple of my favorites:


My canisters are definitely not as cute as these, I would love to find some neat glass ones but these are going to have to do until I find some:


Saturday, May 5, 2012

Fun with Vinyl

So, my sister bought a Silhouette SD for her daughter and it hardly got used so she lent it to me to figure out how to use it and then teach her. I had to have my sister in-law help me because after watching a few Youtube tutorials I wanted to send it back from where it came!

Last night she came over and helped me learn the basics.  
It is lots of fun! I started slapping vinyl all over my house! 
Here is a project I just did today:

There is a story that goes behind this one. I had a frame on the wall by our bed that said: "Always Kiss me Goodnight". I loved it. Well, for some unknown reason Trevor knocked it off the wall one morning and the frame and glass shattered. I'm not sure as to how he managed to do it but I have wanted to replace it ever since. 

This is all that was left so I kept it to remind me to re-make it.

As you probably know I have a lot of these old windows and I love them so I decided I would add vinyl to this one.


So this is how it turned out.
It was hard to take pictures of but I promise you can read it even though the wall is a cream color. 
 

Friday, May 4, 2012

DIY Coat Rack


So, yesterday I decided that I wanted to make a coat rack. 

Earlier this week I was at Hobby Lobby and had some birthday money and decided that it was burning a hole in my pocket. So I thought "I'll just buy some cute hooks and let inspiration flow on how I'll use them." They were all 50% off so that also helped me break down and make the purchase. 

I looked through my pile of scraps for some wood that I could re-use. I found a piece of bead board that was the perfect size, and because the bead board was too thin, my hubby cut out a piece of wood to glue to the back of it to make it more substantial.

Here's what I started with:


I found some wood glue in the garage and some clamps...


I glued the wood and clamped it all together making it flush:
Let that sit for about 30 minutes and got started on the paint.

I have a few sample sized paints from Valspar that I have for small projects.
For this project I used Reflection Pond and Piano Brown:


 First coat of dry brushing with Reflection Pond 
(I wanted to keep some of the black showing through)


 A bit of Piano Brown:


Second coat with Reflection Pond:


 Dried and ready to sand...
(Ps. Say hello to my little friend! Trevor bought him for me as an early Christmas gift a few months back and we have become the best of friends ever since!!)


Sanded with hooks in place for mounting:

I changed my mind last minute and decided to add another hook
All finished and ready to hang, I just need to run to Home Depot and get some brackets that will hold it up- it's a heavy little sucker!

Saturday, April 28, 2012

From Rags to Riches, Patio Set Transformation on a Dime


I have had this project finished for a while now but never took pictures of the end results or blogged about it, so here it is! 

My husband picked up a rod iron patio set from a garage sale as a surprise for me. I'm not going to lie, it was in pretty bad shape. The cushions were completely ratty and weathered- those went straight to the trash. I'm not sure what the original paint color was, it was so rusted and weathered that I was a little worried if I could bring it back to life. But the chairs had a shabby chic feel and I liked their lines so I got about 8 cans of creamy Heritage White spray paint (Rust-Oleum) and went to work. 

The Before:
 I sold the umbrella stand and also bought a different table since I really had no clue how to make an insert for the frame.


 And Now:
I found the red cushions on clearance at Kols for like 6 bucks a piece, score! The yellow double cushion I found at Walmart for $13.00.


Sorry about the poor lighting, the lattice on out patio is nice for shade but not so much for pics. :) 

Friday, April 20, 2012

Today wasn't a total waste...


Feeling crummy is my new middle name. Days like these it's a wonder I even get out of bed! I did manage to paint up my new little treasure from D.I. I scored a couple weeks ago for 10 bucks.
Here she is!


This is the before:


I have her in my kitchen next to my white board to hold markers and keys. I love it because it's functional AND pretty. Can't beat that. :)

Today, I painted her with a can of aqua spray paint:

Then glazed with a mixture of black paint and wipe on poly...


I think she turned out well. I am a fan of the color in my kitchen.
I'm slowly working my way up to painting pieces fun bright colors, the glaze really helps tone it down.
Baby steps.


Linking up to:


Friday, April 6, 2012

Separated Blogger Accounts

Hi Friends,

I was tired of paying for Google storage so I separated my blog accounts in the best way I knew how, without risking losing all of my posts from both of my blogs (I'm really not blog savvy). Anyway, I am no longer following all of my favorite blogs- BUMMER! :( I will be trying to find everyone again, any suggestions on how to do this easier than one at a time? I would appreciate any tips or pointers! Have a splendid day! :)
Carisa @ Paintmeshabby

Monday, March 19, 2012

UPDATE on the Dining Nook!

This has been the LONGEST project ever and we are so close to finishing it completely!
A big shout out goes to my husband, he really did this entire project on his own. I don't know what I would do If I didn't have such a handy husband!

The finish work is all that is needed and making cushions for the benches. 

Here are just a few pictures for you to see this painfully long process. 

Still not sure what the builders of these houses were thinking. Putting a railing here really doesn't put this space to good use. 
Pulled out the railing and hubby built a pony wall. James is a super helper!
This is just a priceless picture. Love my boys!

At last, a wall!

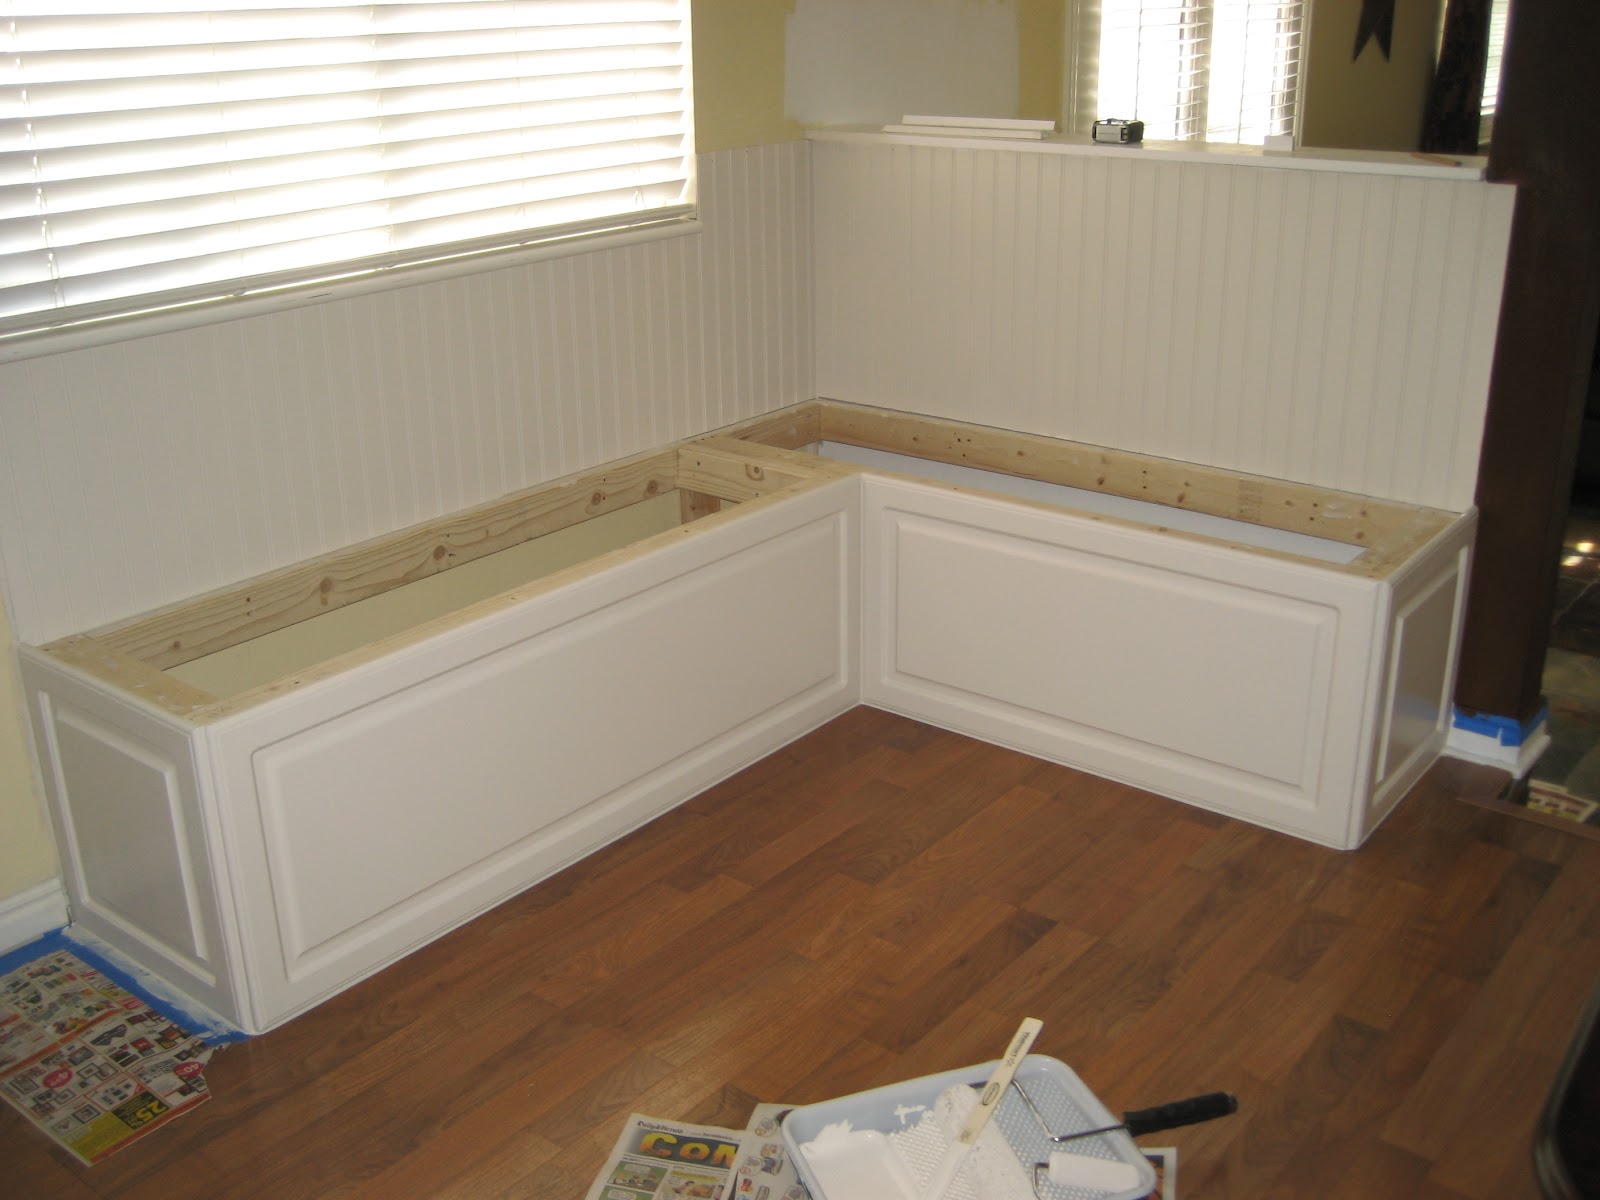
Hubs framed in some benches...

Put up bead board and found some cabinet fronts that fit my style perfectly!
 
Cabinet fronts in place and caulked.

Painted the bead board and cabinets

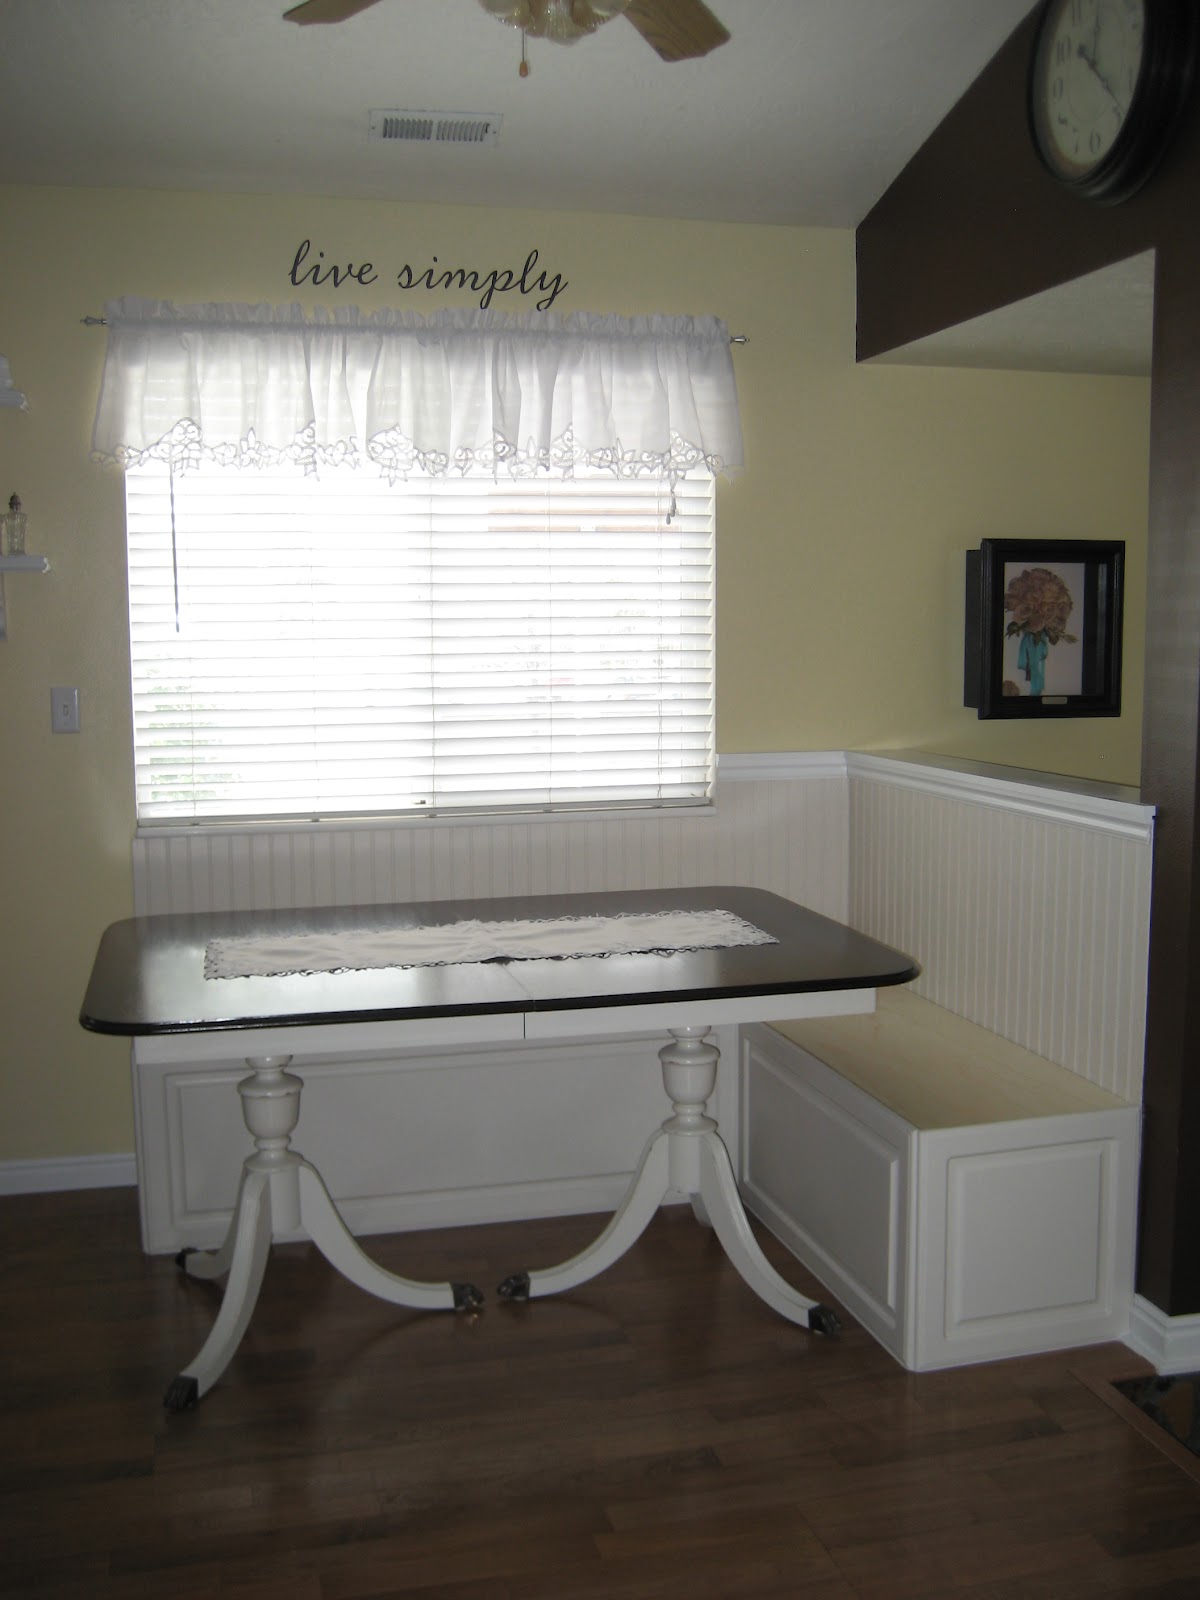
Added trim and painted the connecting walls. Nearly finished!

Ahhh, love it!

The computer desk finally looks like it belongs!


Fabric for the bench cushions and for the seats of the chairs I am going to be refinishing.  Those chairs will probably take some time to finish but they will be gorgeous once their finished! 
Stay tuned for the final reveal! :)